Modern advances in mountain bike suspension have caused for greater amounts of fun on the trail. From new technology like the rear suspension flip-chips to the Quarq Shockwiz shock calibration tool. It’s all to make the ride better, ergo faster!
Nonetheless, it’s important to understand the ins-and-outs of today’s suspension setups and to know what amount of shock travel you need. From the moment you unbox the bike, you should be able to quickly setup the shocks correctly without having to do hours of figuring and research. Even on the eve of a big event, it’s good to know a little bit of tips to fine tune your suspension. Which is why we’ve put together this guide to getting it right, getting your shocks pumping, and getting you smiling all the way.
Determine how much shock travel you need:
First things first it’s good to determine what amount of shock travel you need. This is entirely dependent on the type of riding that you do. And it’s good to decide on this before you head out and buy a bike.
Shock travel:
100mm – Shorter travel is more for XCO racing snakes. Essentially you want to keep your bike as light and nimble as possible, and that’s where this length of shock fits in well.
110mm – This amount of shock travel is still god for XC racing but falls more within the marathon category. If you’re going to hit long distances, over mountains and down descents then this is for you.
120mm – For trail shredders and weekend warriors, and those that take their time on the rides, enjoy the views, this one is for you. The 120s are light enough on the climbs, and great for descends with tight corners. They suit your go-everywhere mountain bikes.
140mm – Just like the 120mm forks the 140s are superbly matched to trail and leisure riders who want a shock that can tackle anything.
160mm/180mm – If you’re planning some hectic Enduro riding ahead then by all means make sure your riding a 160mm or a 180mm travel fork! Typically, Enduros have massive drops and loose rocky corners, which is why you want to have a bit more travel than a 140mm.
200mm – These kind-of forks are for the gnarly shredders, the downhillers. They can handle huge jumps and keep you as stable as a log.
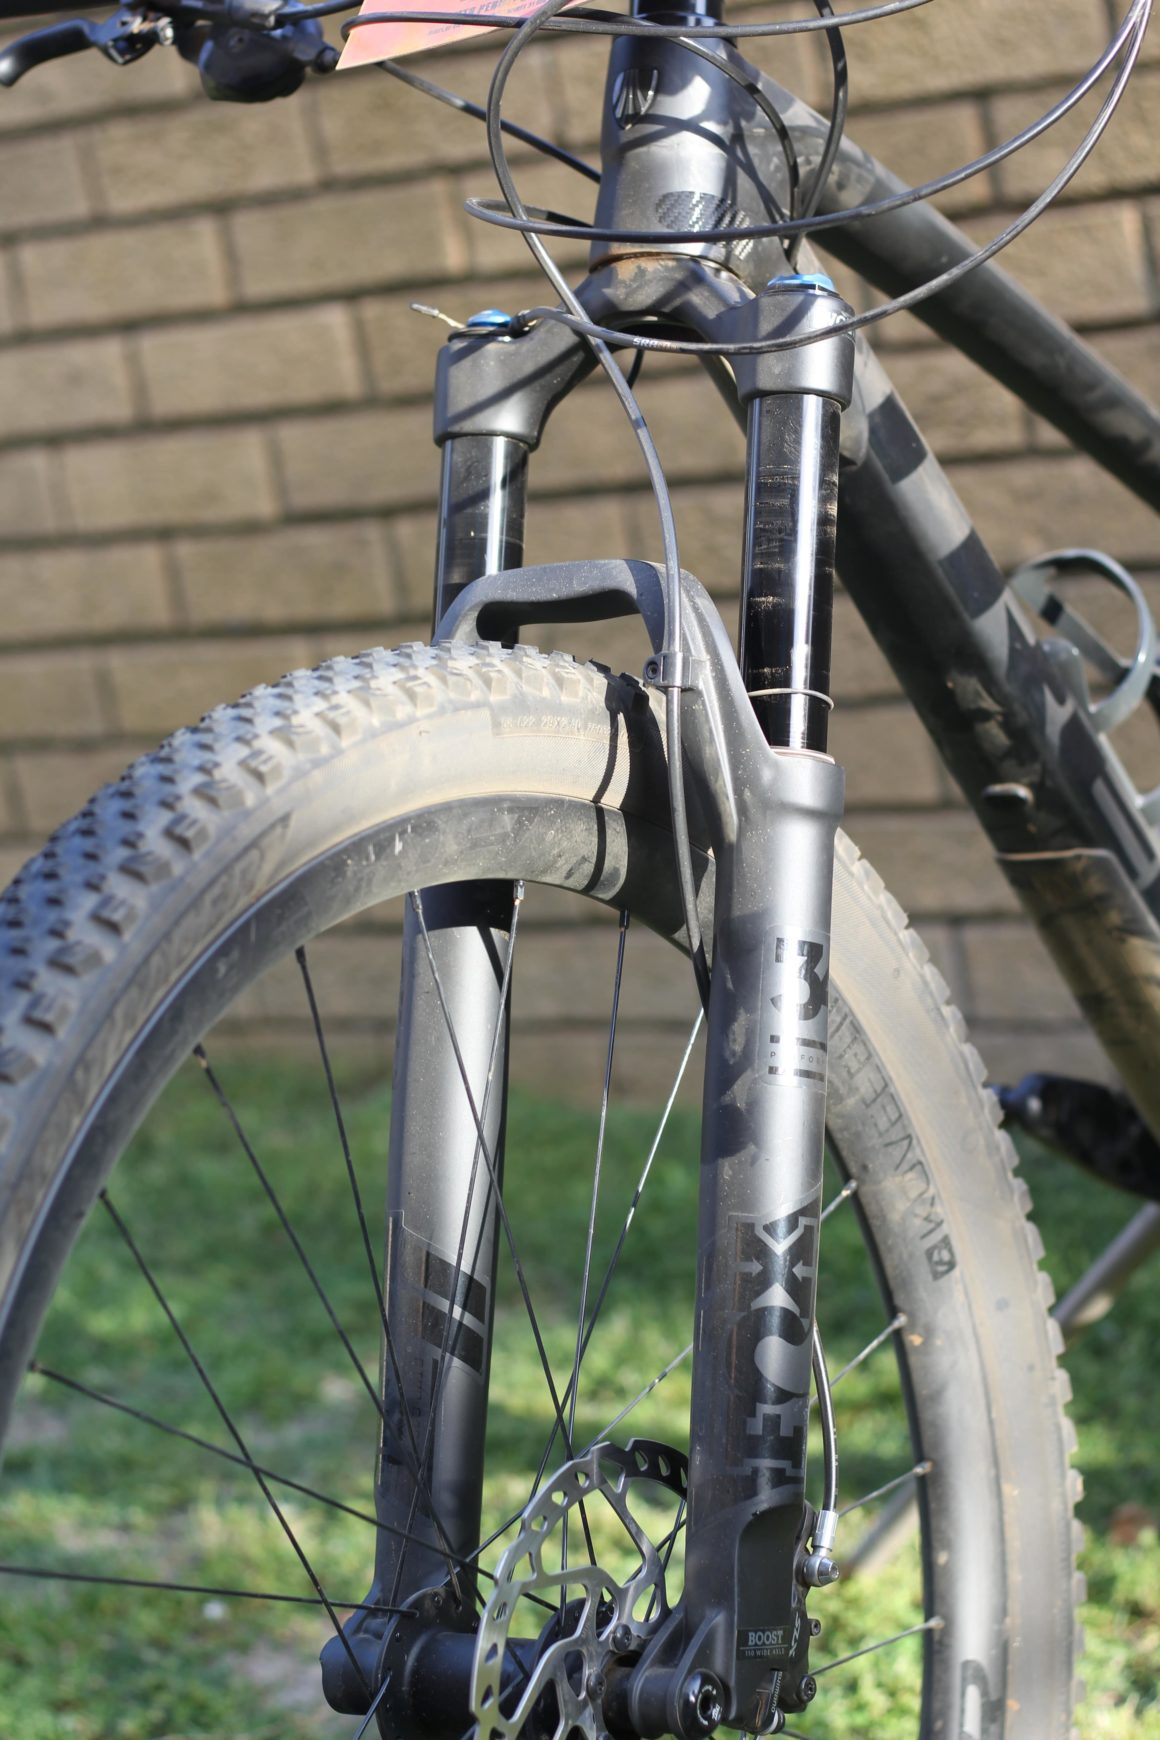
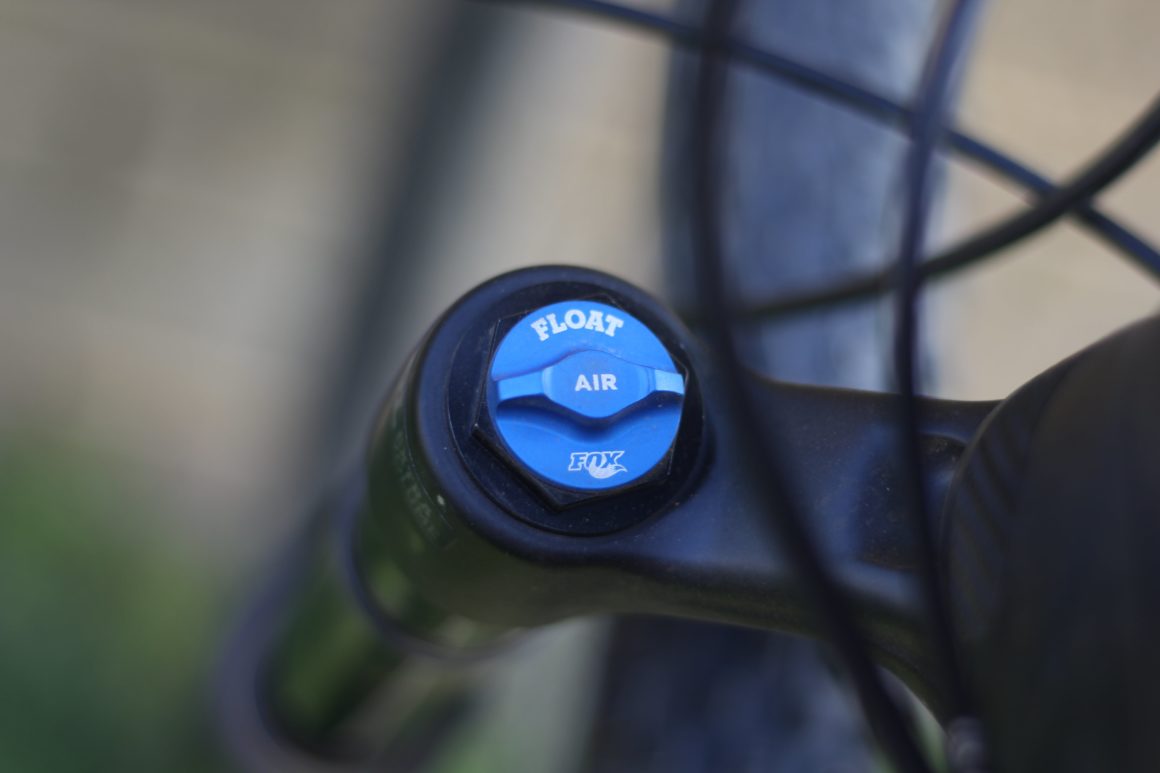
Set the correct shock air pressure:
The front shock is easy to pump and set with the right air pressure. Simply weigh yourself in on a scale, get your weight in Kilograms. For every kg you weigh, pump the shock according to that number in PSI.
1 Kg = 1 PSI
Test the sag on your fork, and in the shock feels too soft or too hard still – then pump or deflate accordingly. Usually you want to have the sag set at around 10% when you’re on the bike.
There are many expert ways to determine how much pressure you want in the rear shock, and its slightly more complex than just letting it rip on the pump. The way we like to approach it is sort of a shortcut; take your weight in kg and add 40 to that number. That’s how much you should pump your rear shock in psi.
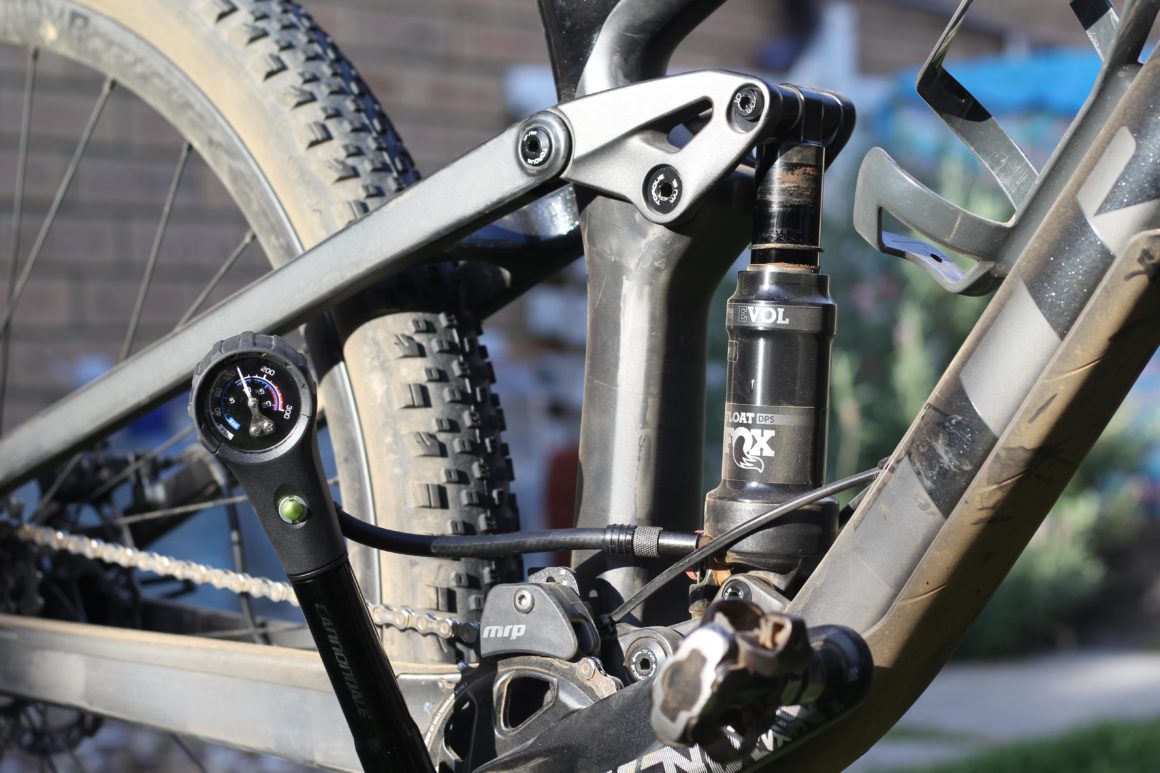
x Kg + 40 = y PSI
Then look at your sag once more when you’re on the bike. For the rear shock you want to have around 20% sag.
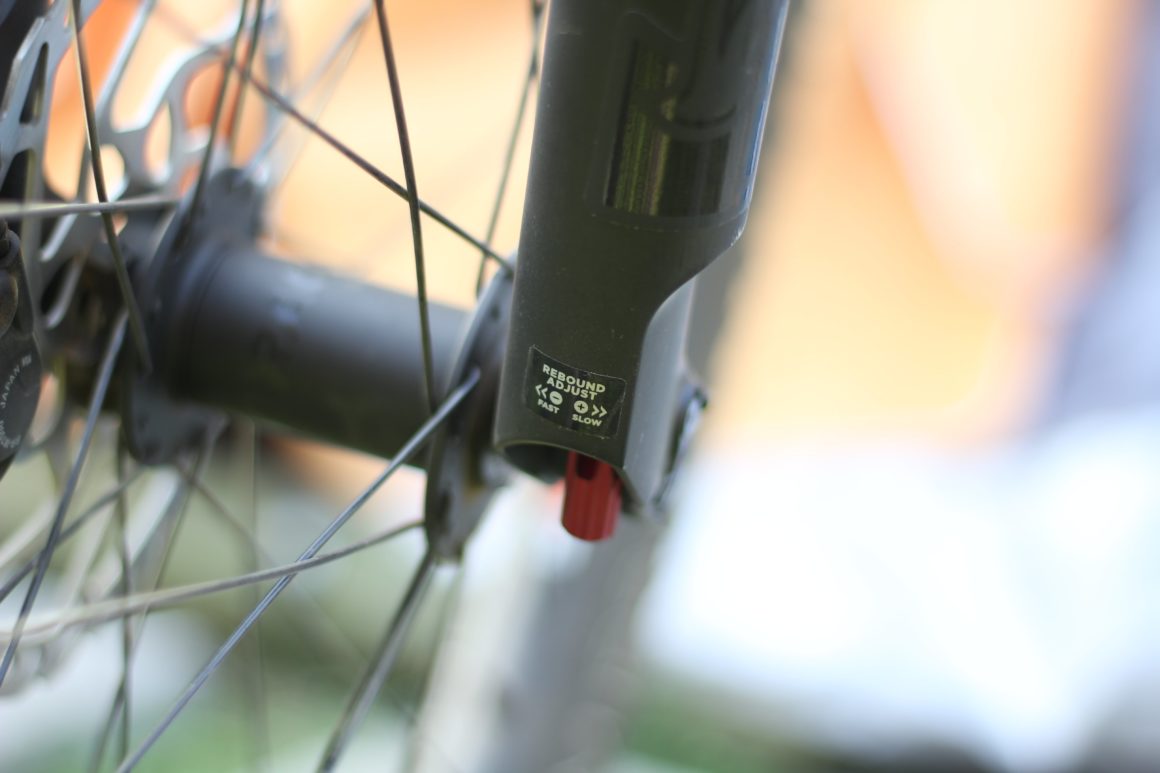
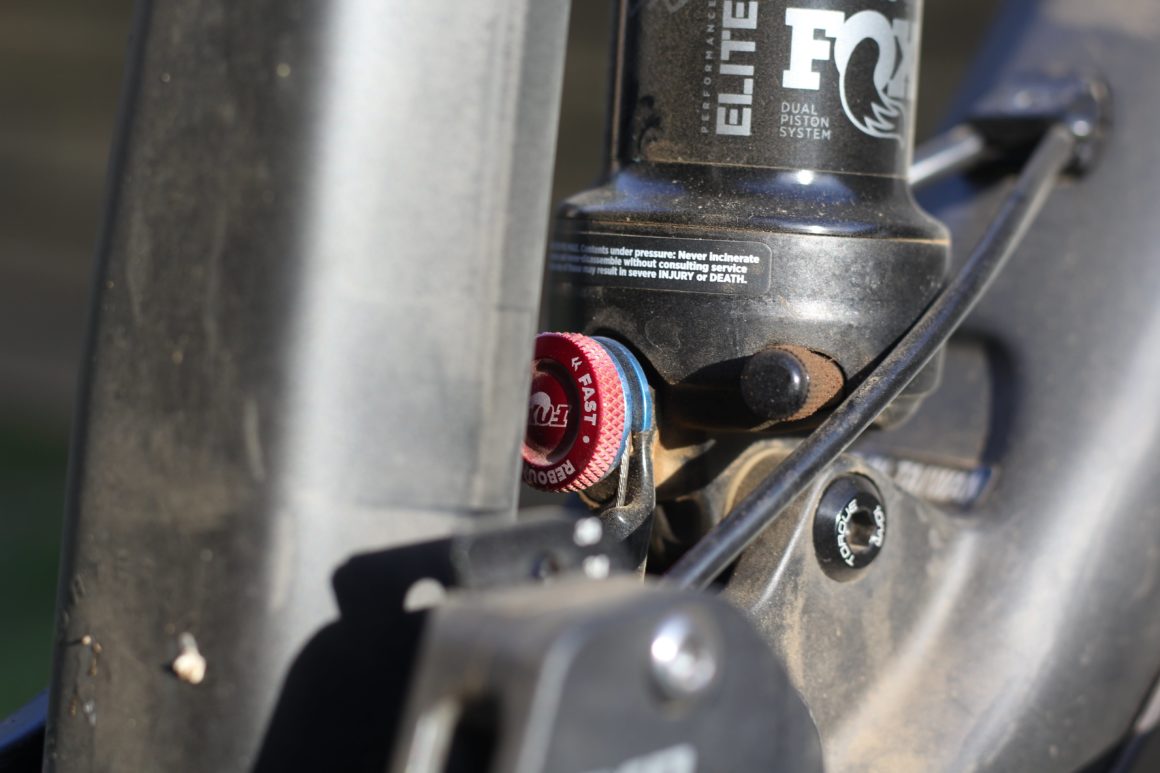
Shock Rebound
Shock rebound can affect the way your shock performs and its quick and super easy to fine tune. A good quality shock and most modern shocks have a rebound adjustment dial. On fork its normally found at the bottom (underneath) the fork legs. And on a rear shock there’s a dial that says rebound adjustment. Once again, many riders have different preferences to the way they like to set their suspension up, but we like to keep it simple; and set the rebound to the middle click. Giving you a happy medium between slow and fast rebound.
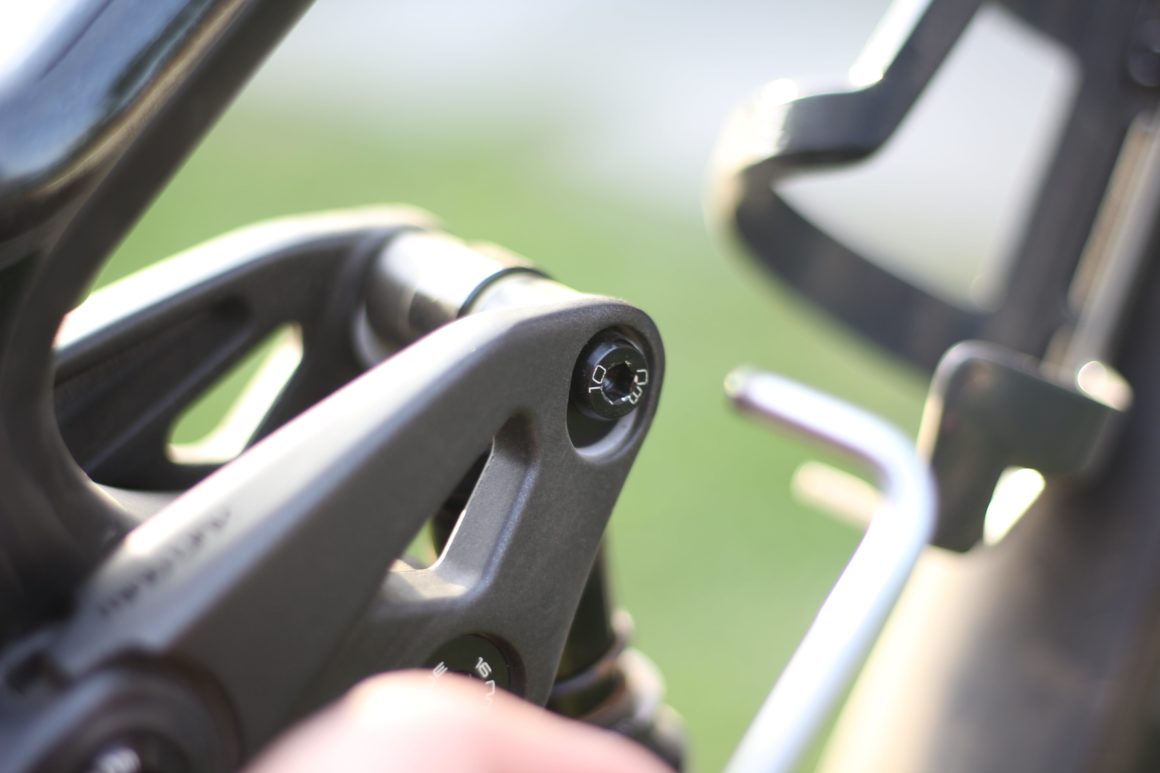
Rear Suspension Flip Chips
The flip chip has changed the whole bike setup game completely. While it doesn’t really affect your shocks, it can change the geometry of your bike instantly. Depending on the terrain you’re riding, or wheel size you’re using, the flip chip concept comes in handy to change the height of the bottom bracket and angle of the headtube.
High setting: makes the head-tube angle roughly 0.5-degrees steeper, and the bottom bracket about 4mm taller. You’ll normally use this setting when running 650b+ wheels. The steeper head-tube angle also accounts for snappier bike handling, while the higher bottom bracket for more pedal clearance.
Low setting: does the exact opposite of the high setting – lowering the bottom bracket by 4mm and slackening the head angle by 0.5-degrees. This creates a more stable ride on descents and allows the rider to tackle steep terrain.
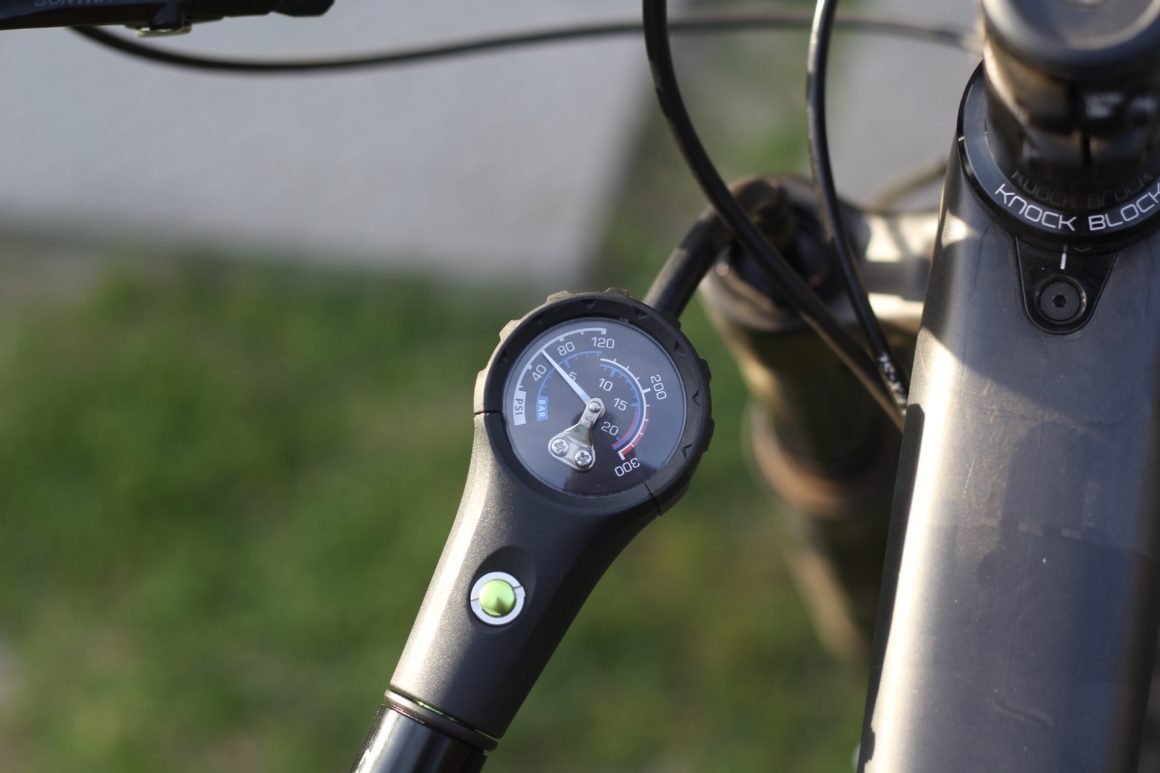
Quarq Shockwiz shock calibration
The Shockwiz device from SRAM is another game changer in the industry. If you’re unsure about how or what settings exactly your shocks need for the type of riding you do, then getting a Shockwiz unit is a good idea. What it does is basically monitor the air chambers in your shock, gathering data on how your shock compresses and rebounds. The device then links via Bluetooth to your phone, and sends this data to SRAM’s dedicated app. The app then gives you a whole bunch of guidance as to how you should setup your suspension. Like how many clicks your rebound should be at, and what air pressure you should run.

Hopefully you are now able to set-up and fine-tune your suspension correctly, and easily. Let us know in the comments below if you have any quick tips of your own!